Take-home · 20 cards · laminate these

Step deck

Every student leaves with a physical copy of each step — for the bench at home, and to look at when the clay is put away. Color print, cut, laminate. One deck per person, handed out at the door, not during clay time.

  1. Print color, single-sided, Letter. Turn off “fit to page” if the cards shrink.
  2. Cut each sheet in half on the dashed line. You get twenty 8.5″ × 5.5″ cards.
  3. Laminate each card in a 5 mil pouch so all four edges seal. Punch the dashed circle after it cools if you want a ring.
  4. Stack order: cover, how to use, six markers, then 01 → bake → 02 → 03.
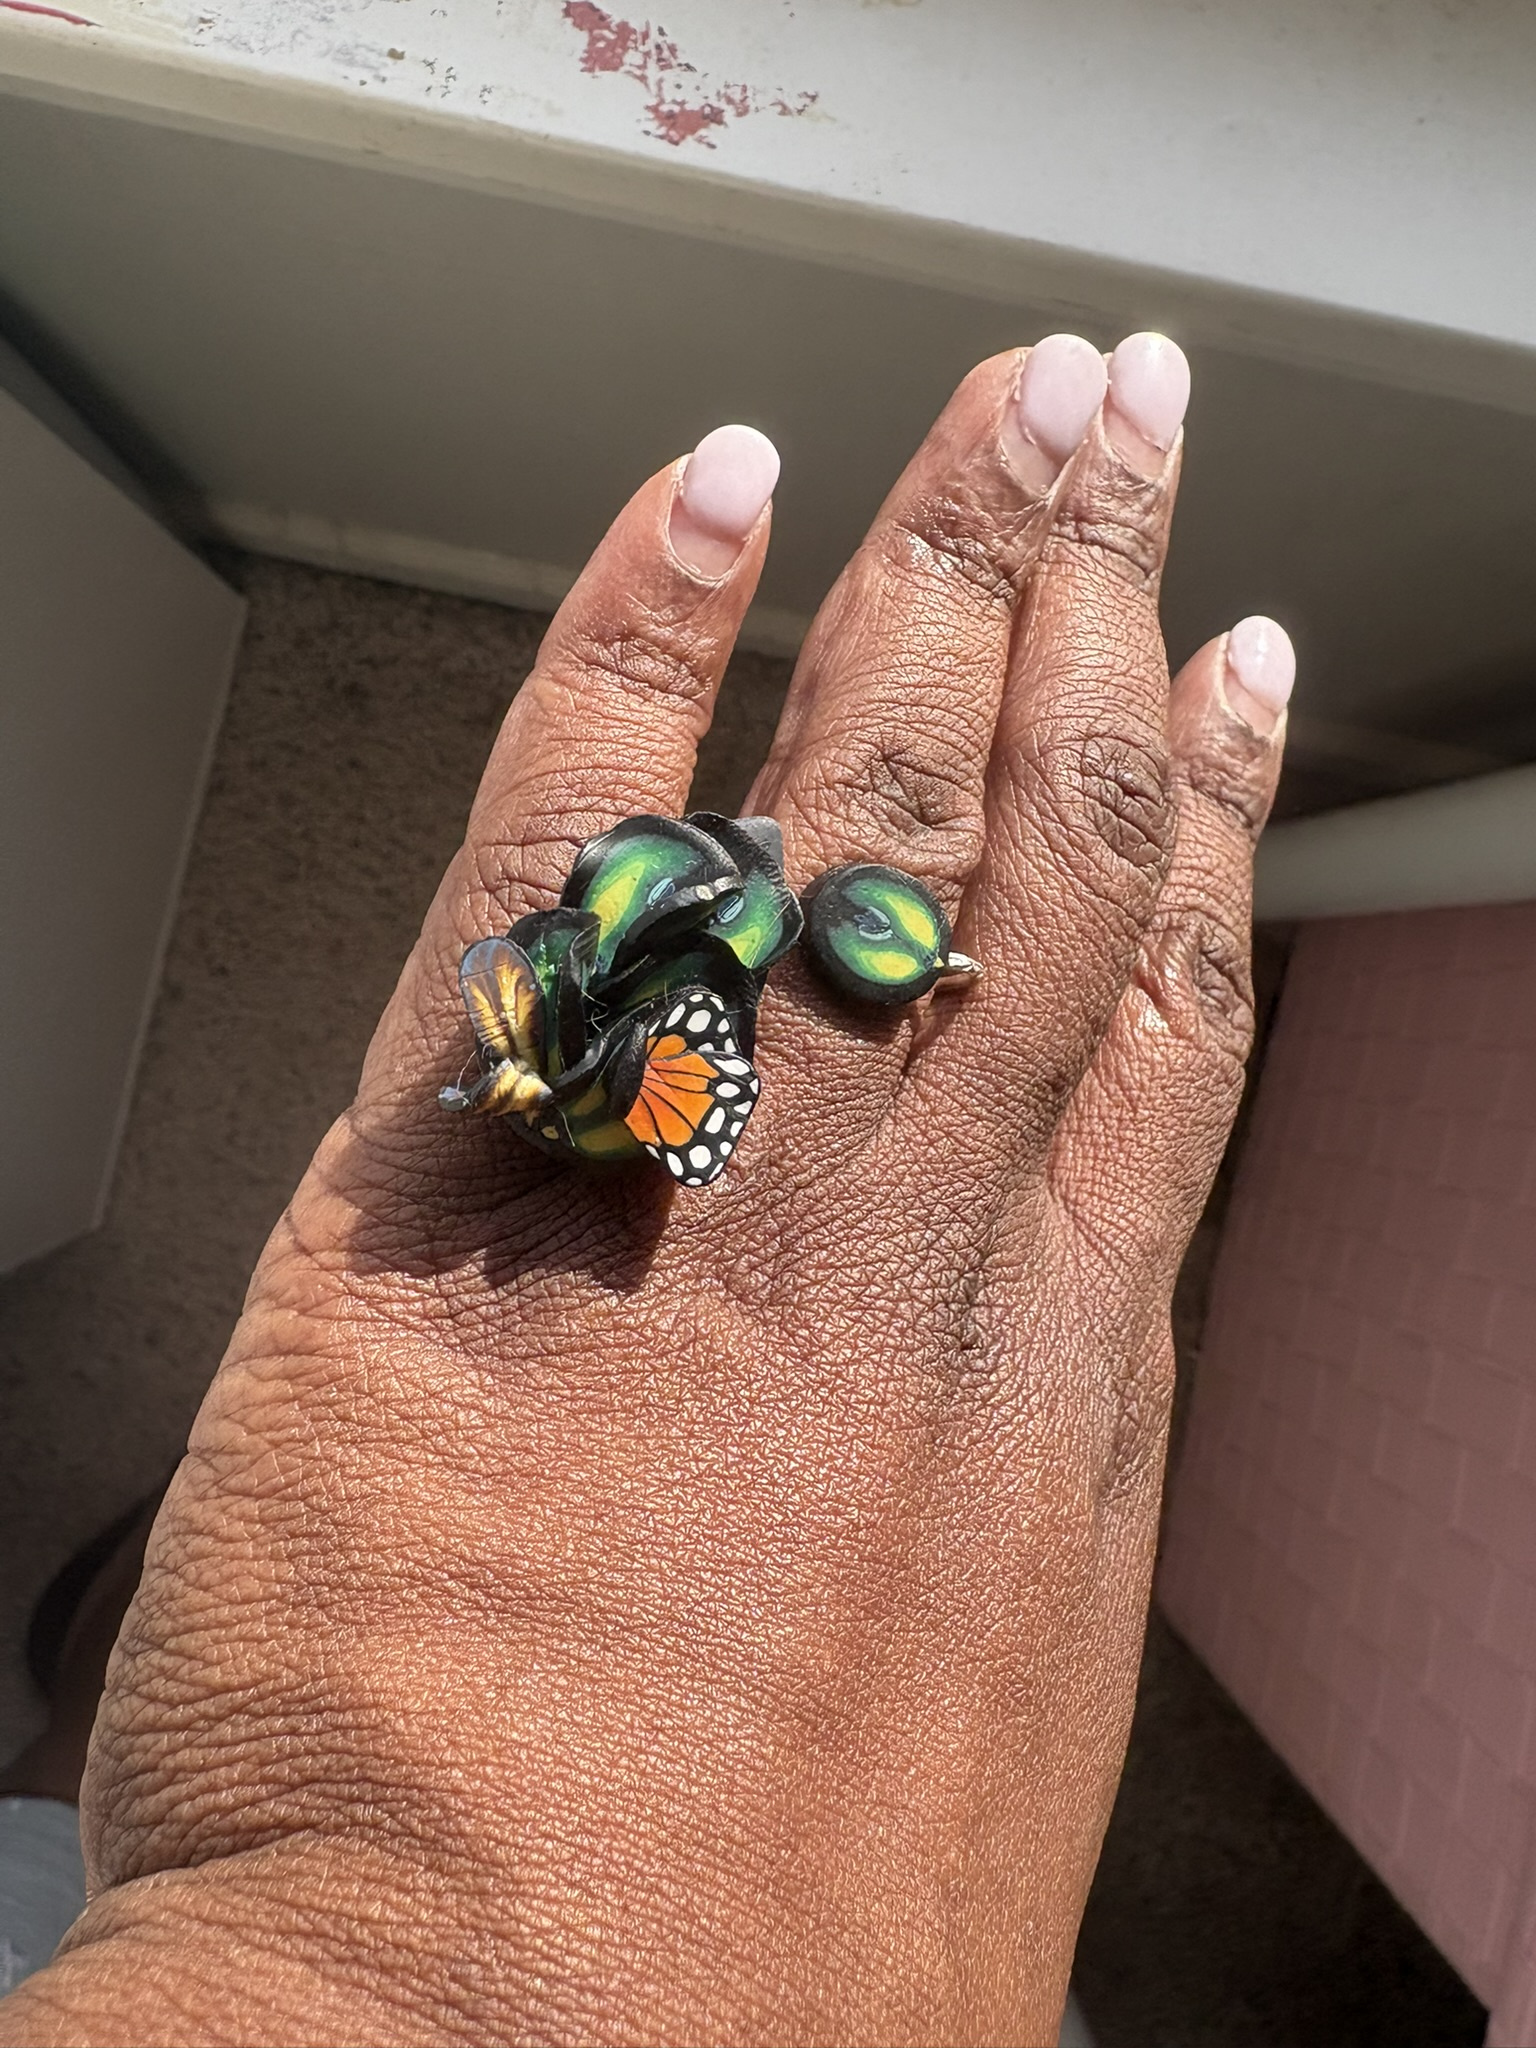
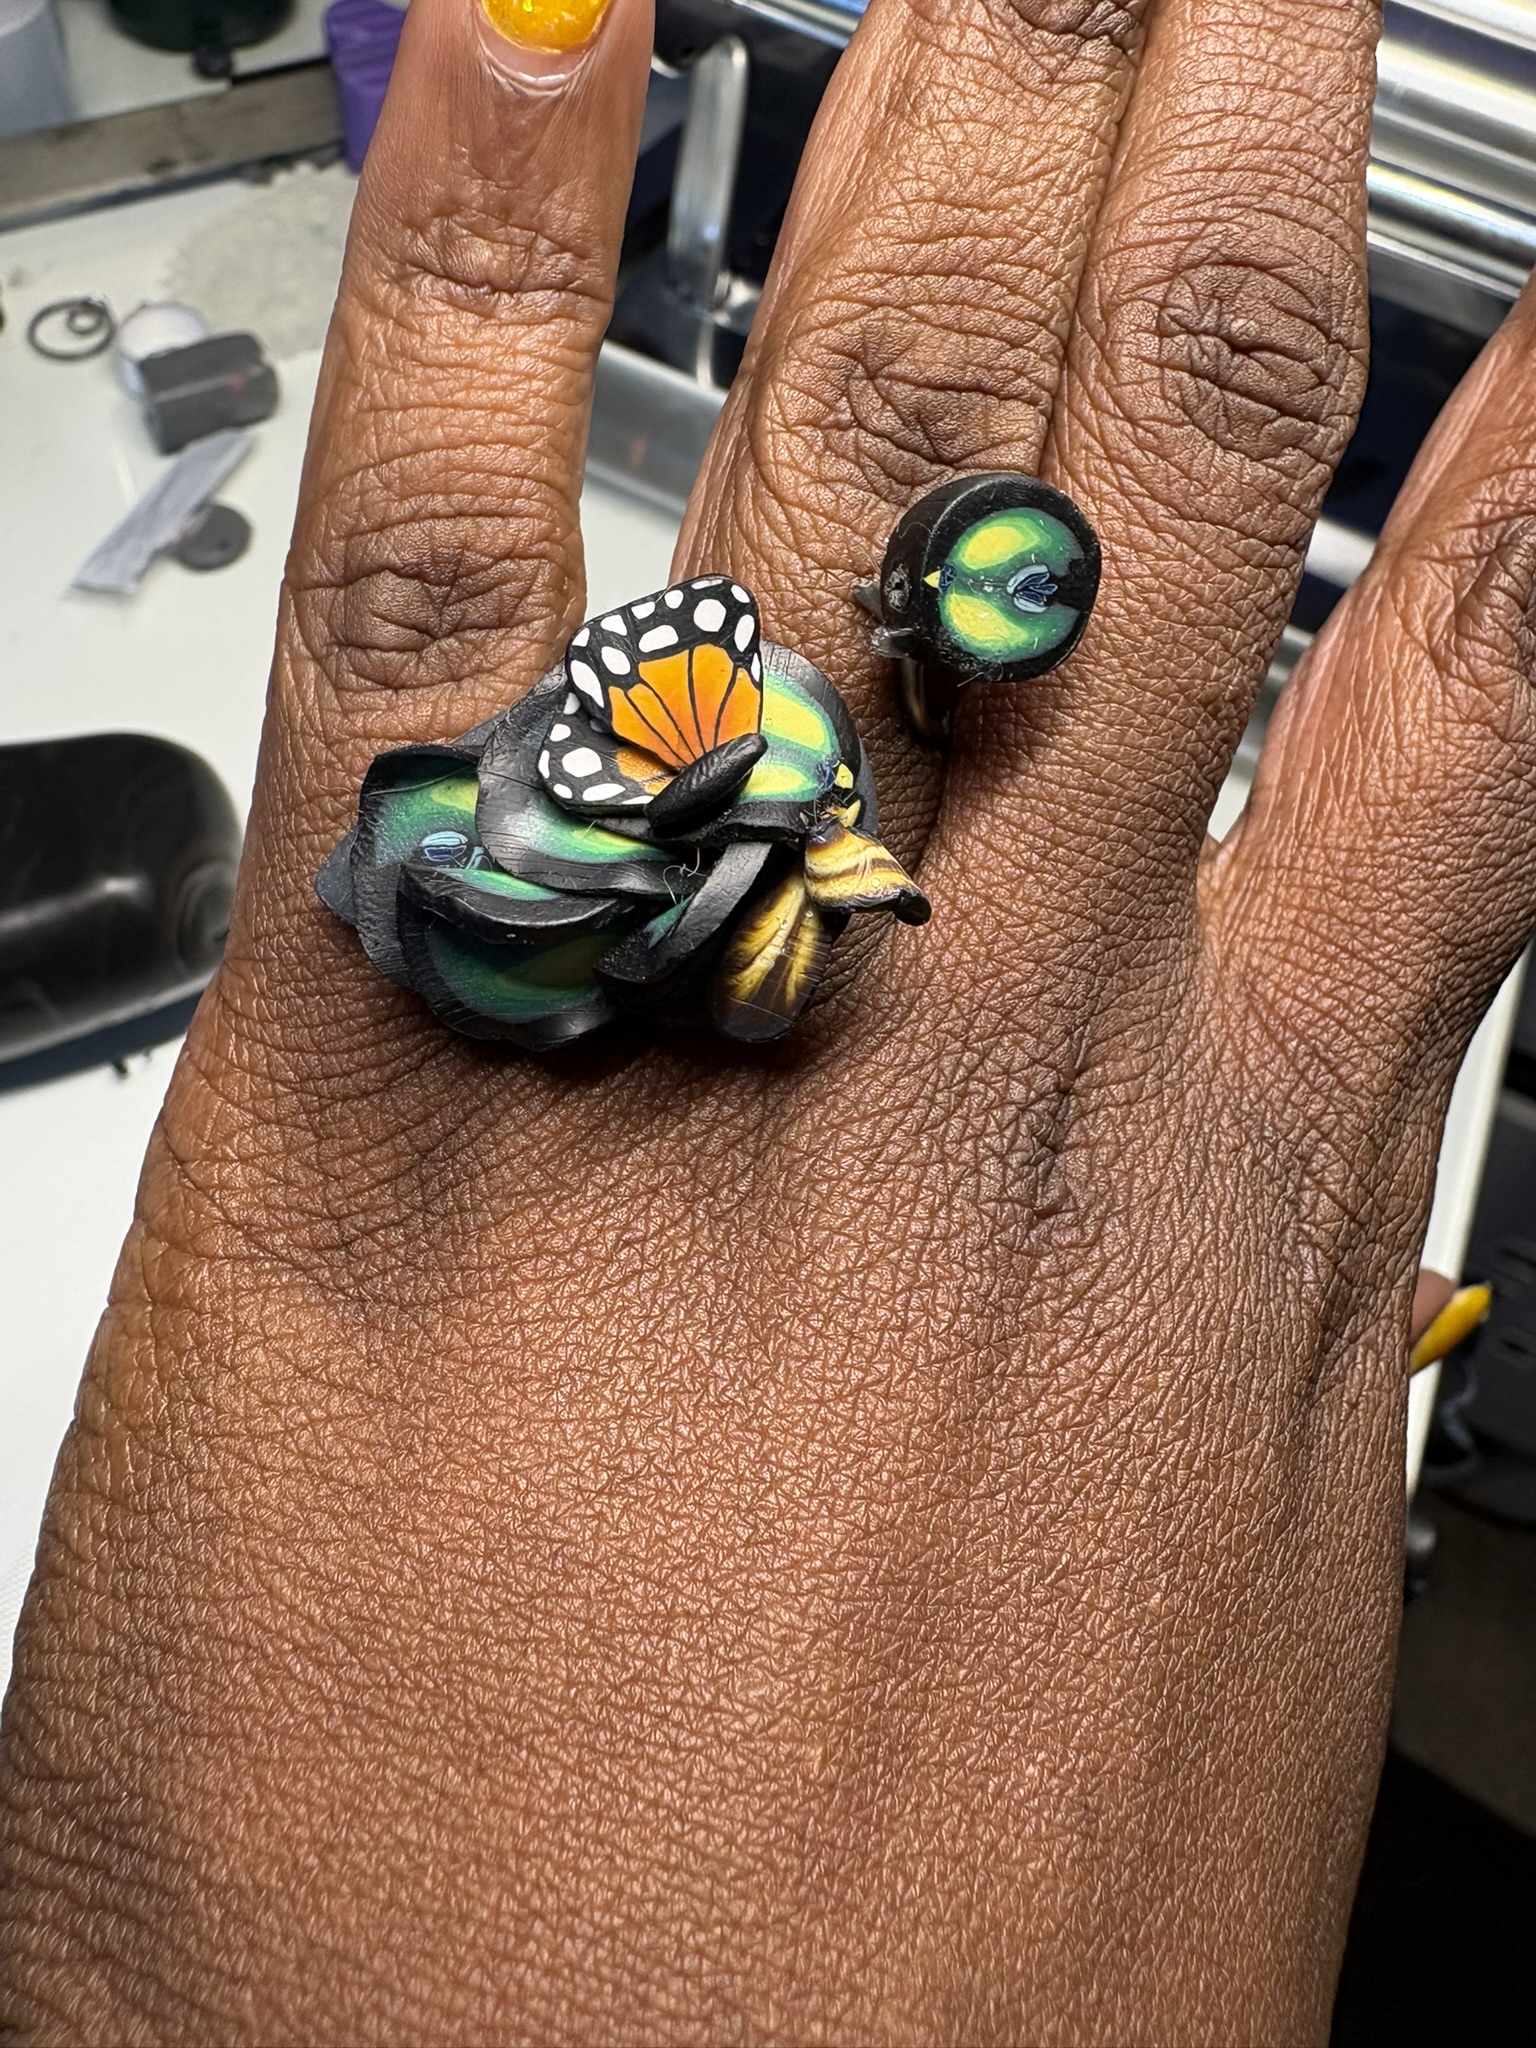
Statement ring and eye disc

Field Marks · take-home deck

Latrese Davis

  • Black field. Lime eye. Monarch veins. Overlay.
  • Practice from these cards. The jewelry is the answer key.

Card 1 of 20

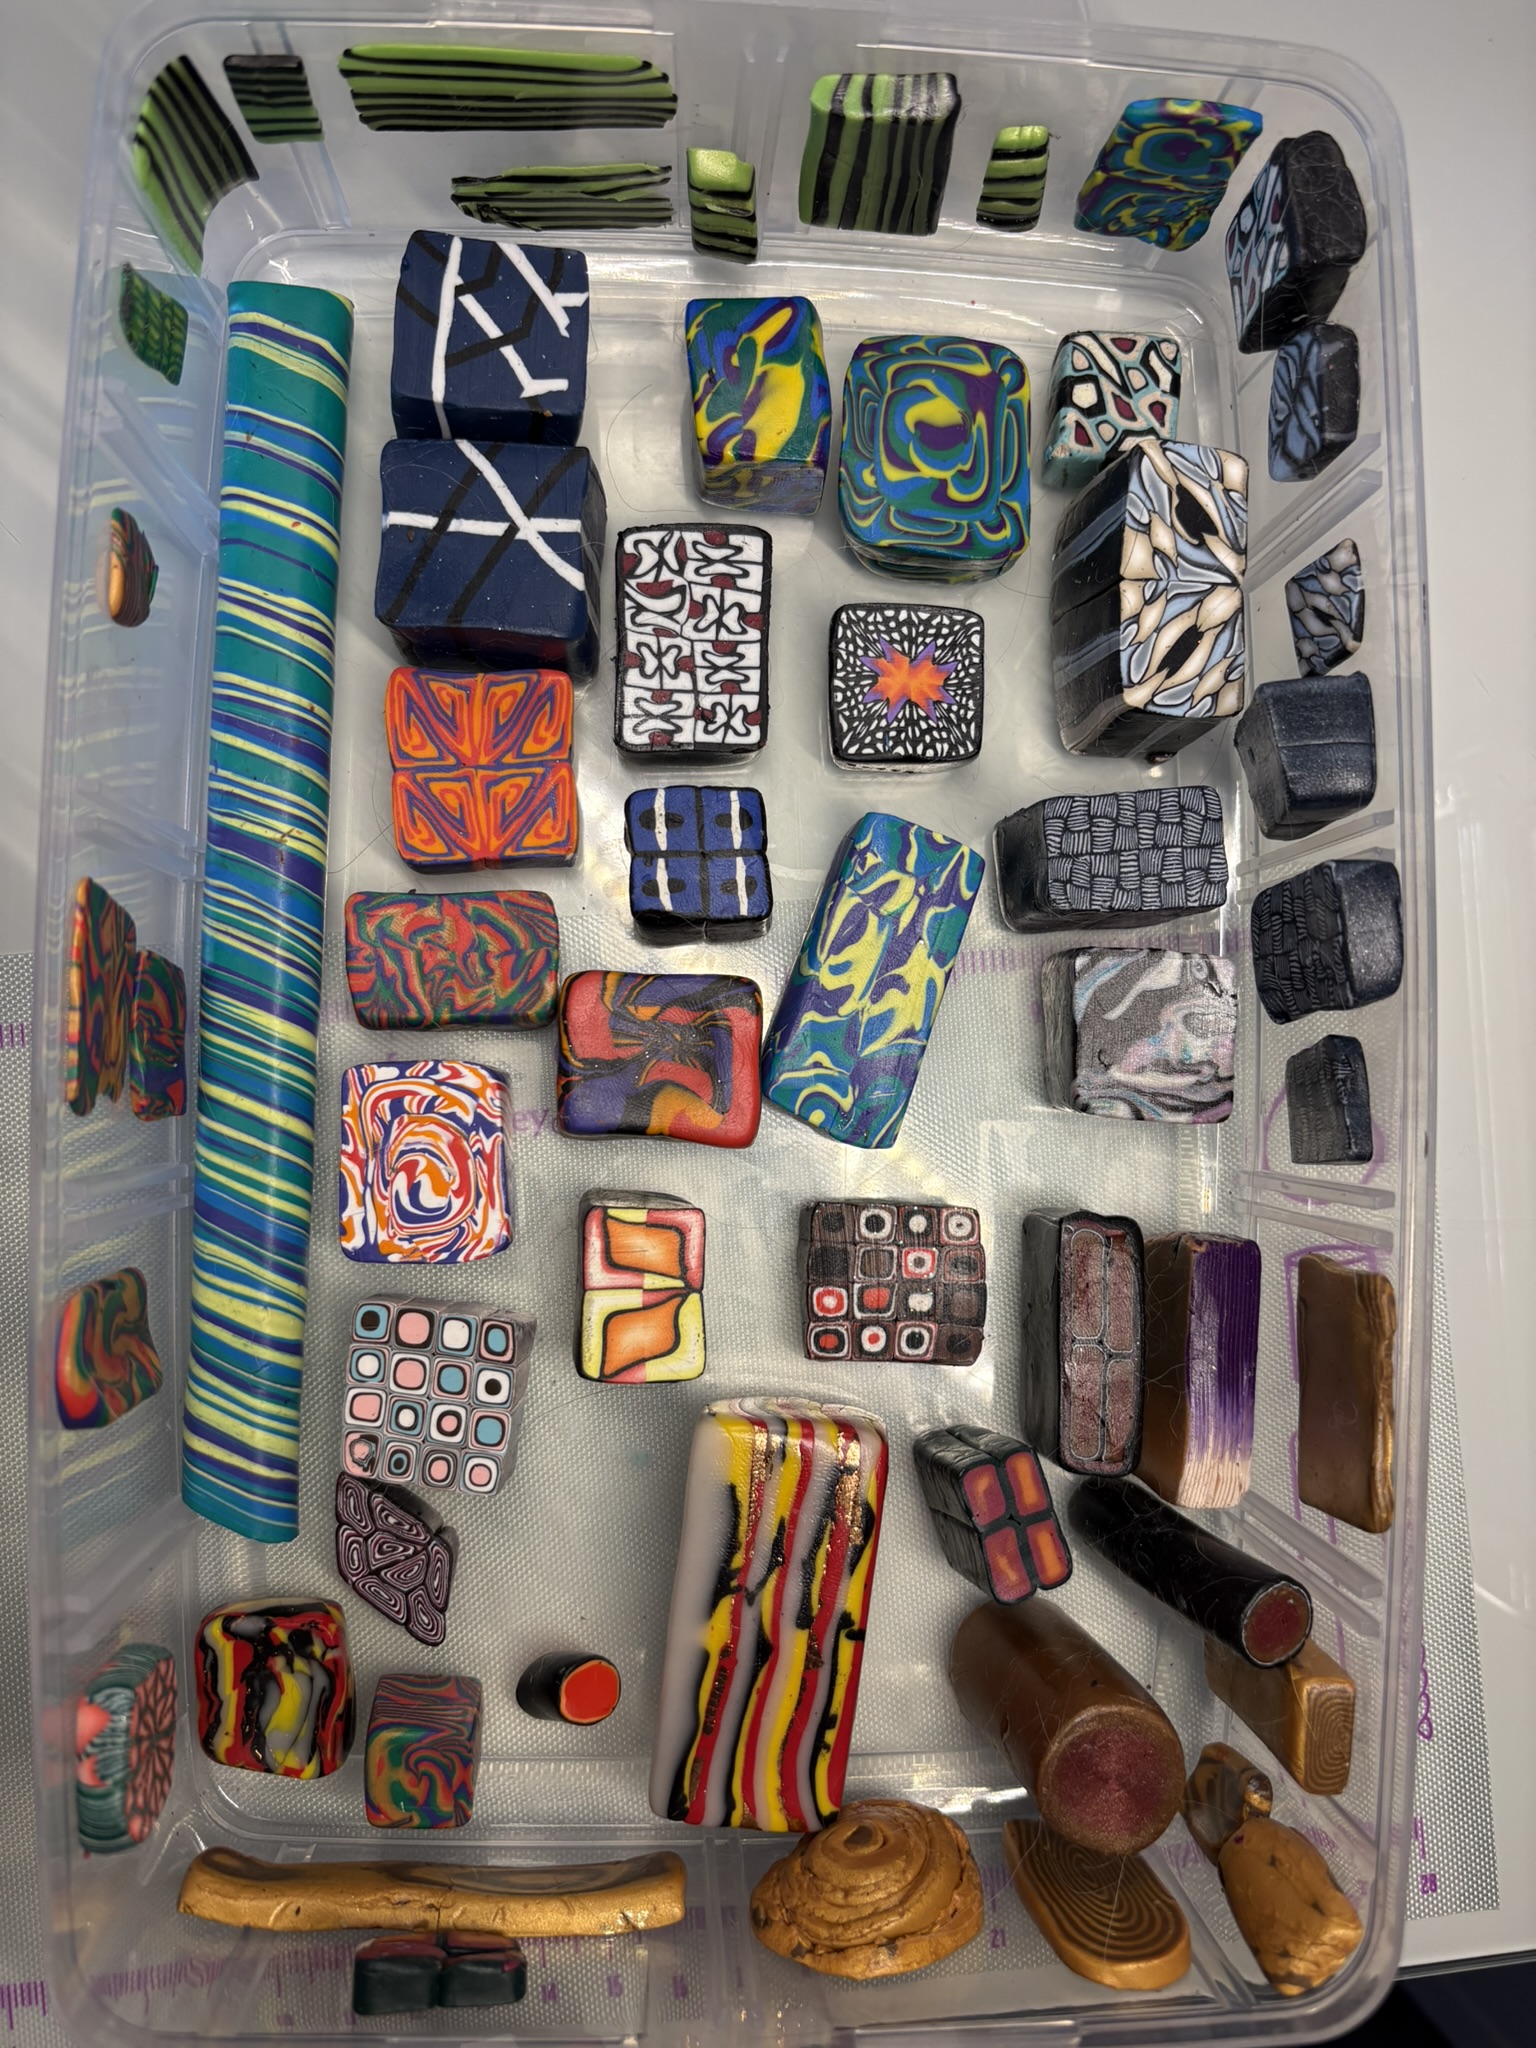
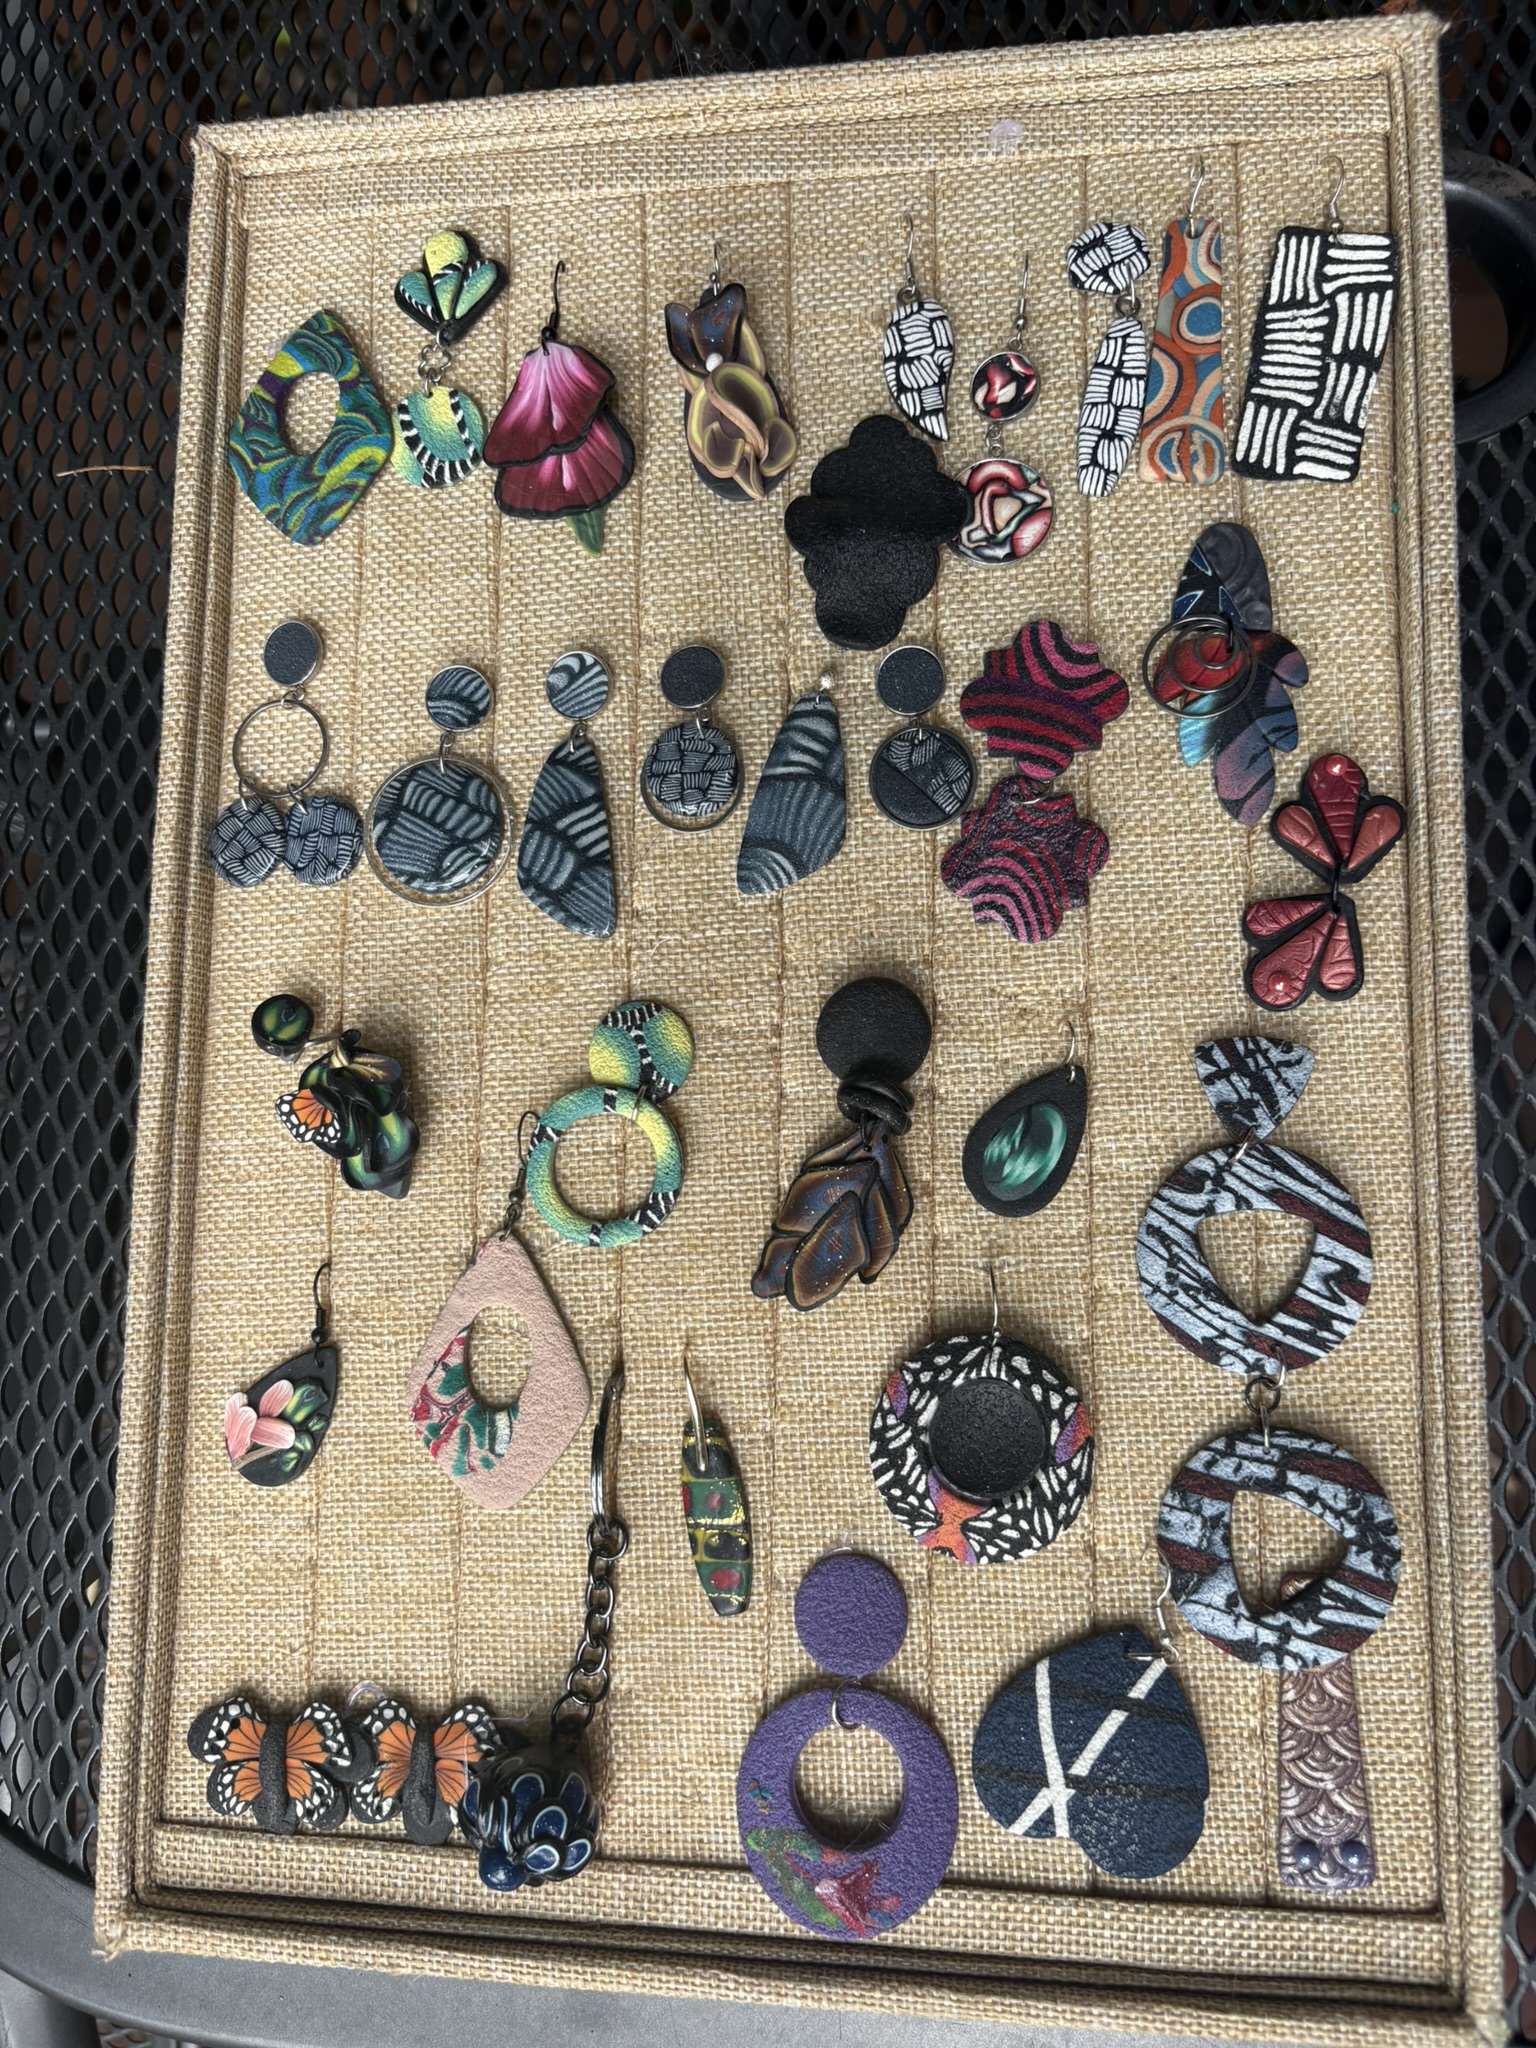
Cane library

How to use this deck

One card on the tile

  • Clay out. One step card face-up. Do only that step.
  • Inspiration cards stay in sight — that is “done.”
  • If a cane splits: window, restack. Do not panic-reduce.
  • These are not a substitute for thin slices. Sequence, then slice.

Field Marks · card 2 of 20

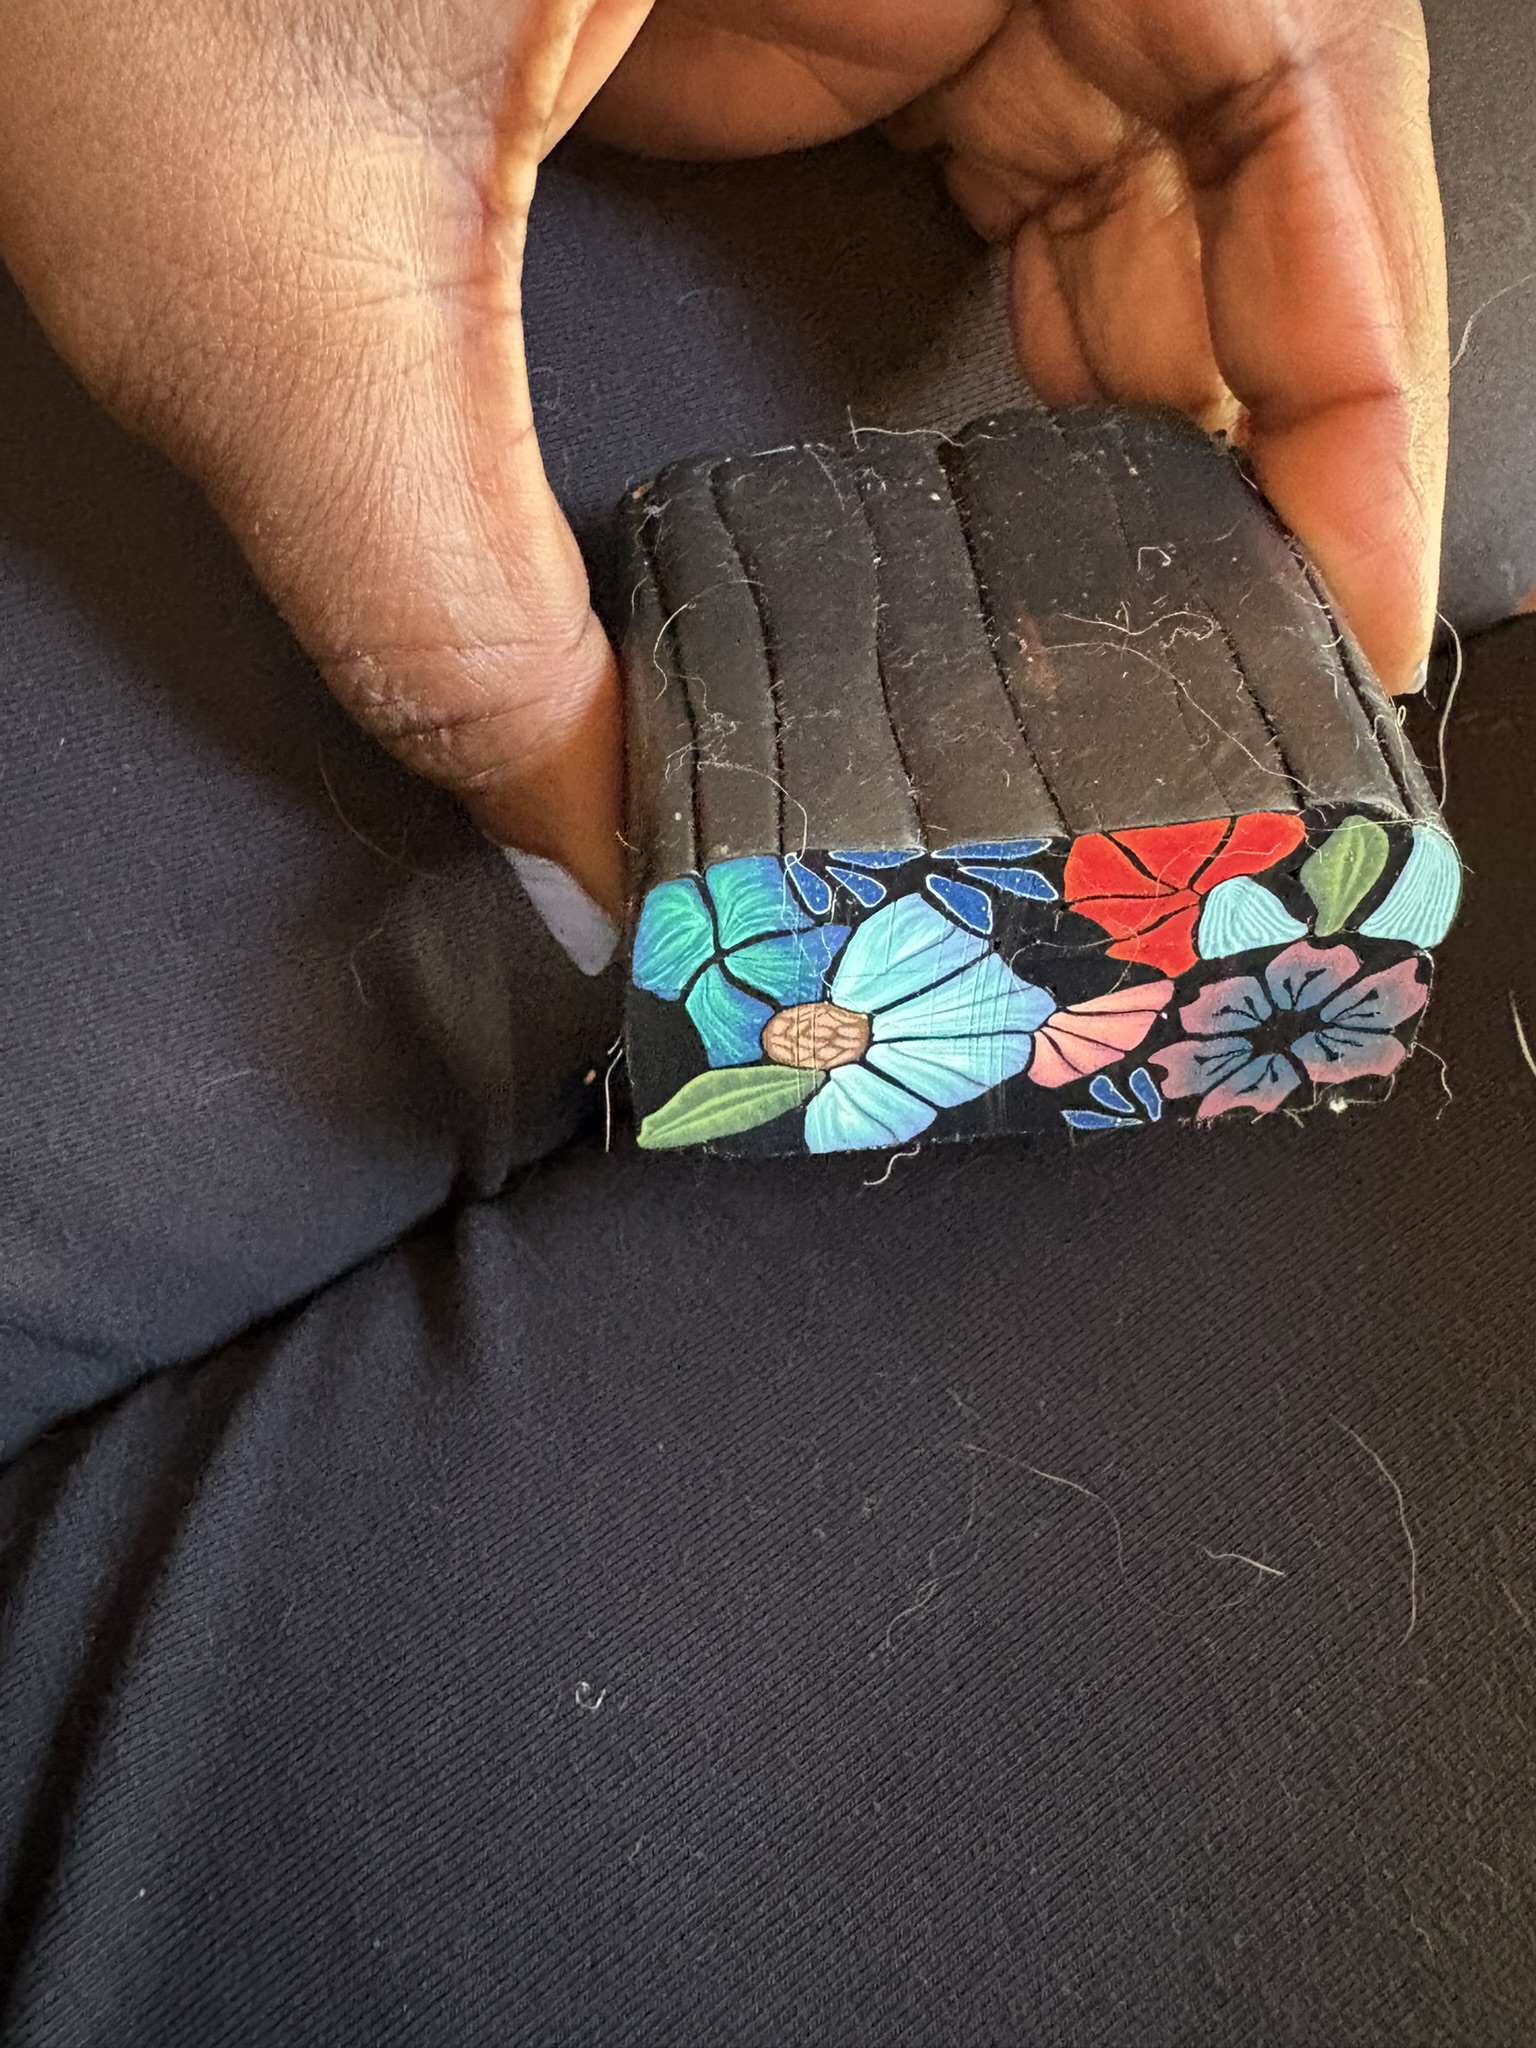
Floral loaf on black

Inspiration · marker 1

Black field

  • Matte black is the paper. Color sits in it.
  • Do not mix the black to grey.
  • Leave gaps. If you cannot see field, pull slices off.

Field Marks · card 3 of 20

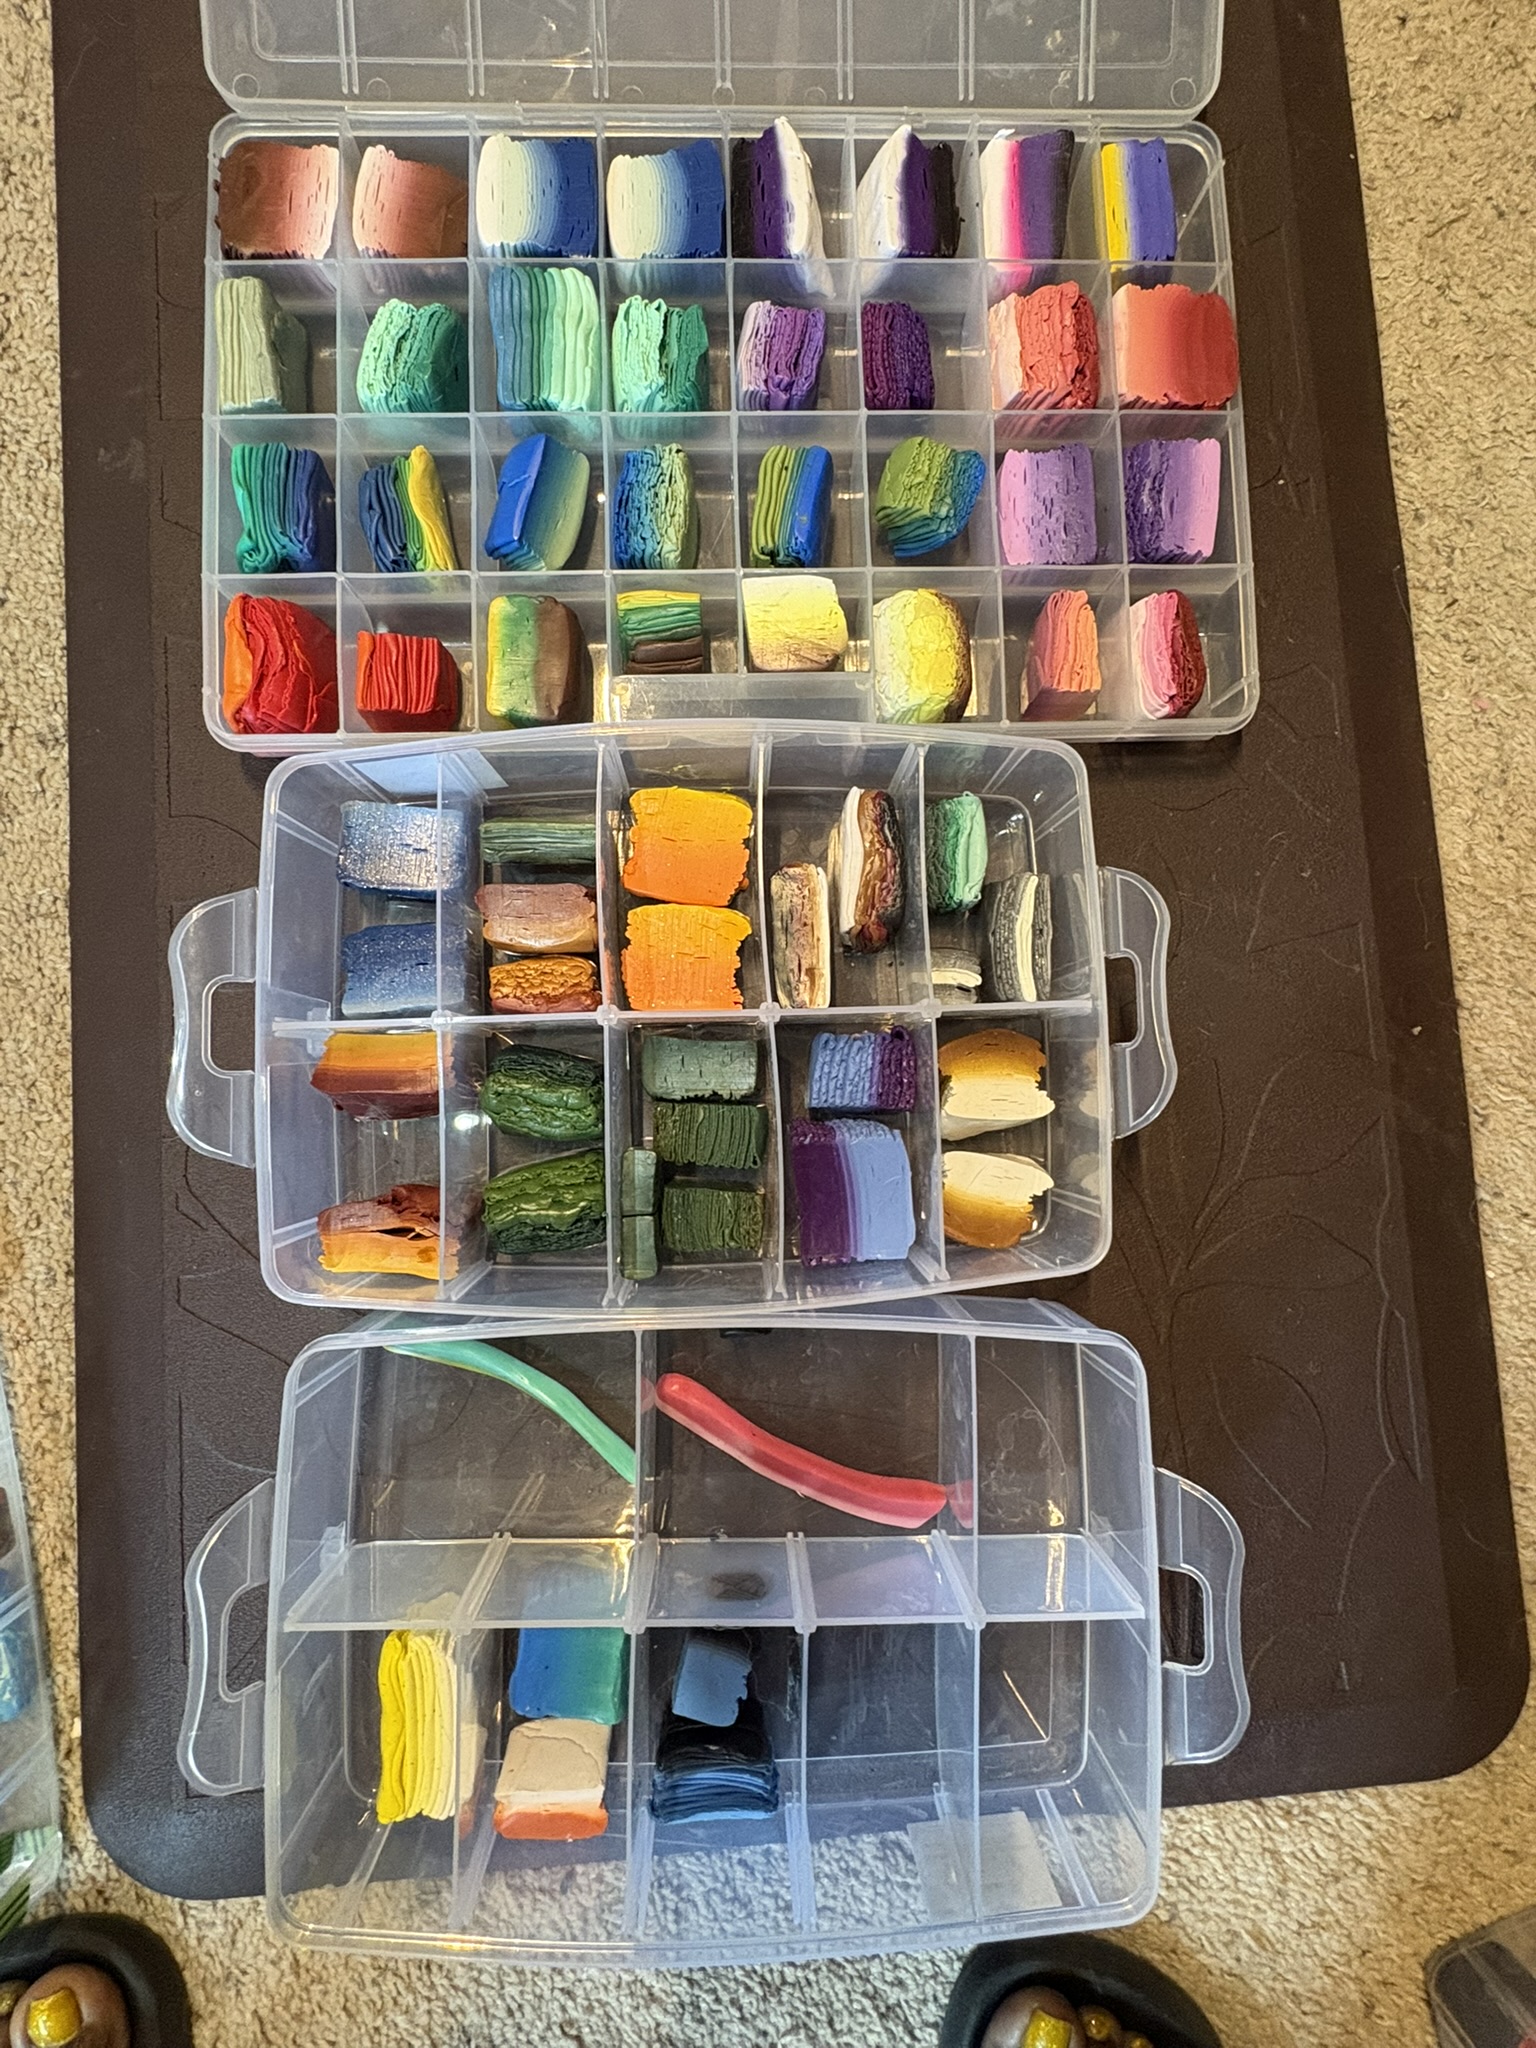
Skinner blend blocks

Inspiration · marker 2

Two or three colors

  • A Skinner is a value story, not a rainbow.
  • Monarch: orange into rust. Eye: yellow into lime.
  • Pearl and gold are a hairline — never the core.

Field Marks · card 4 of 20

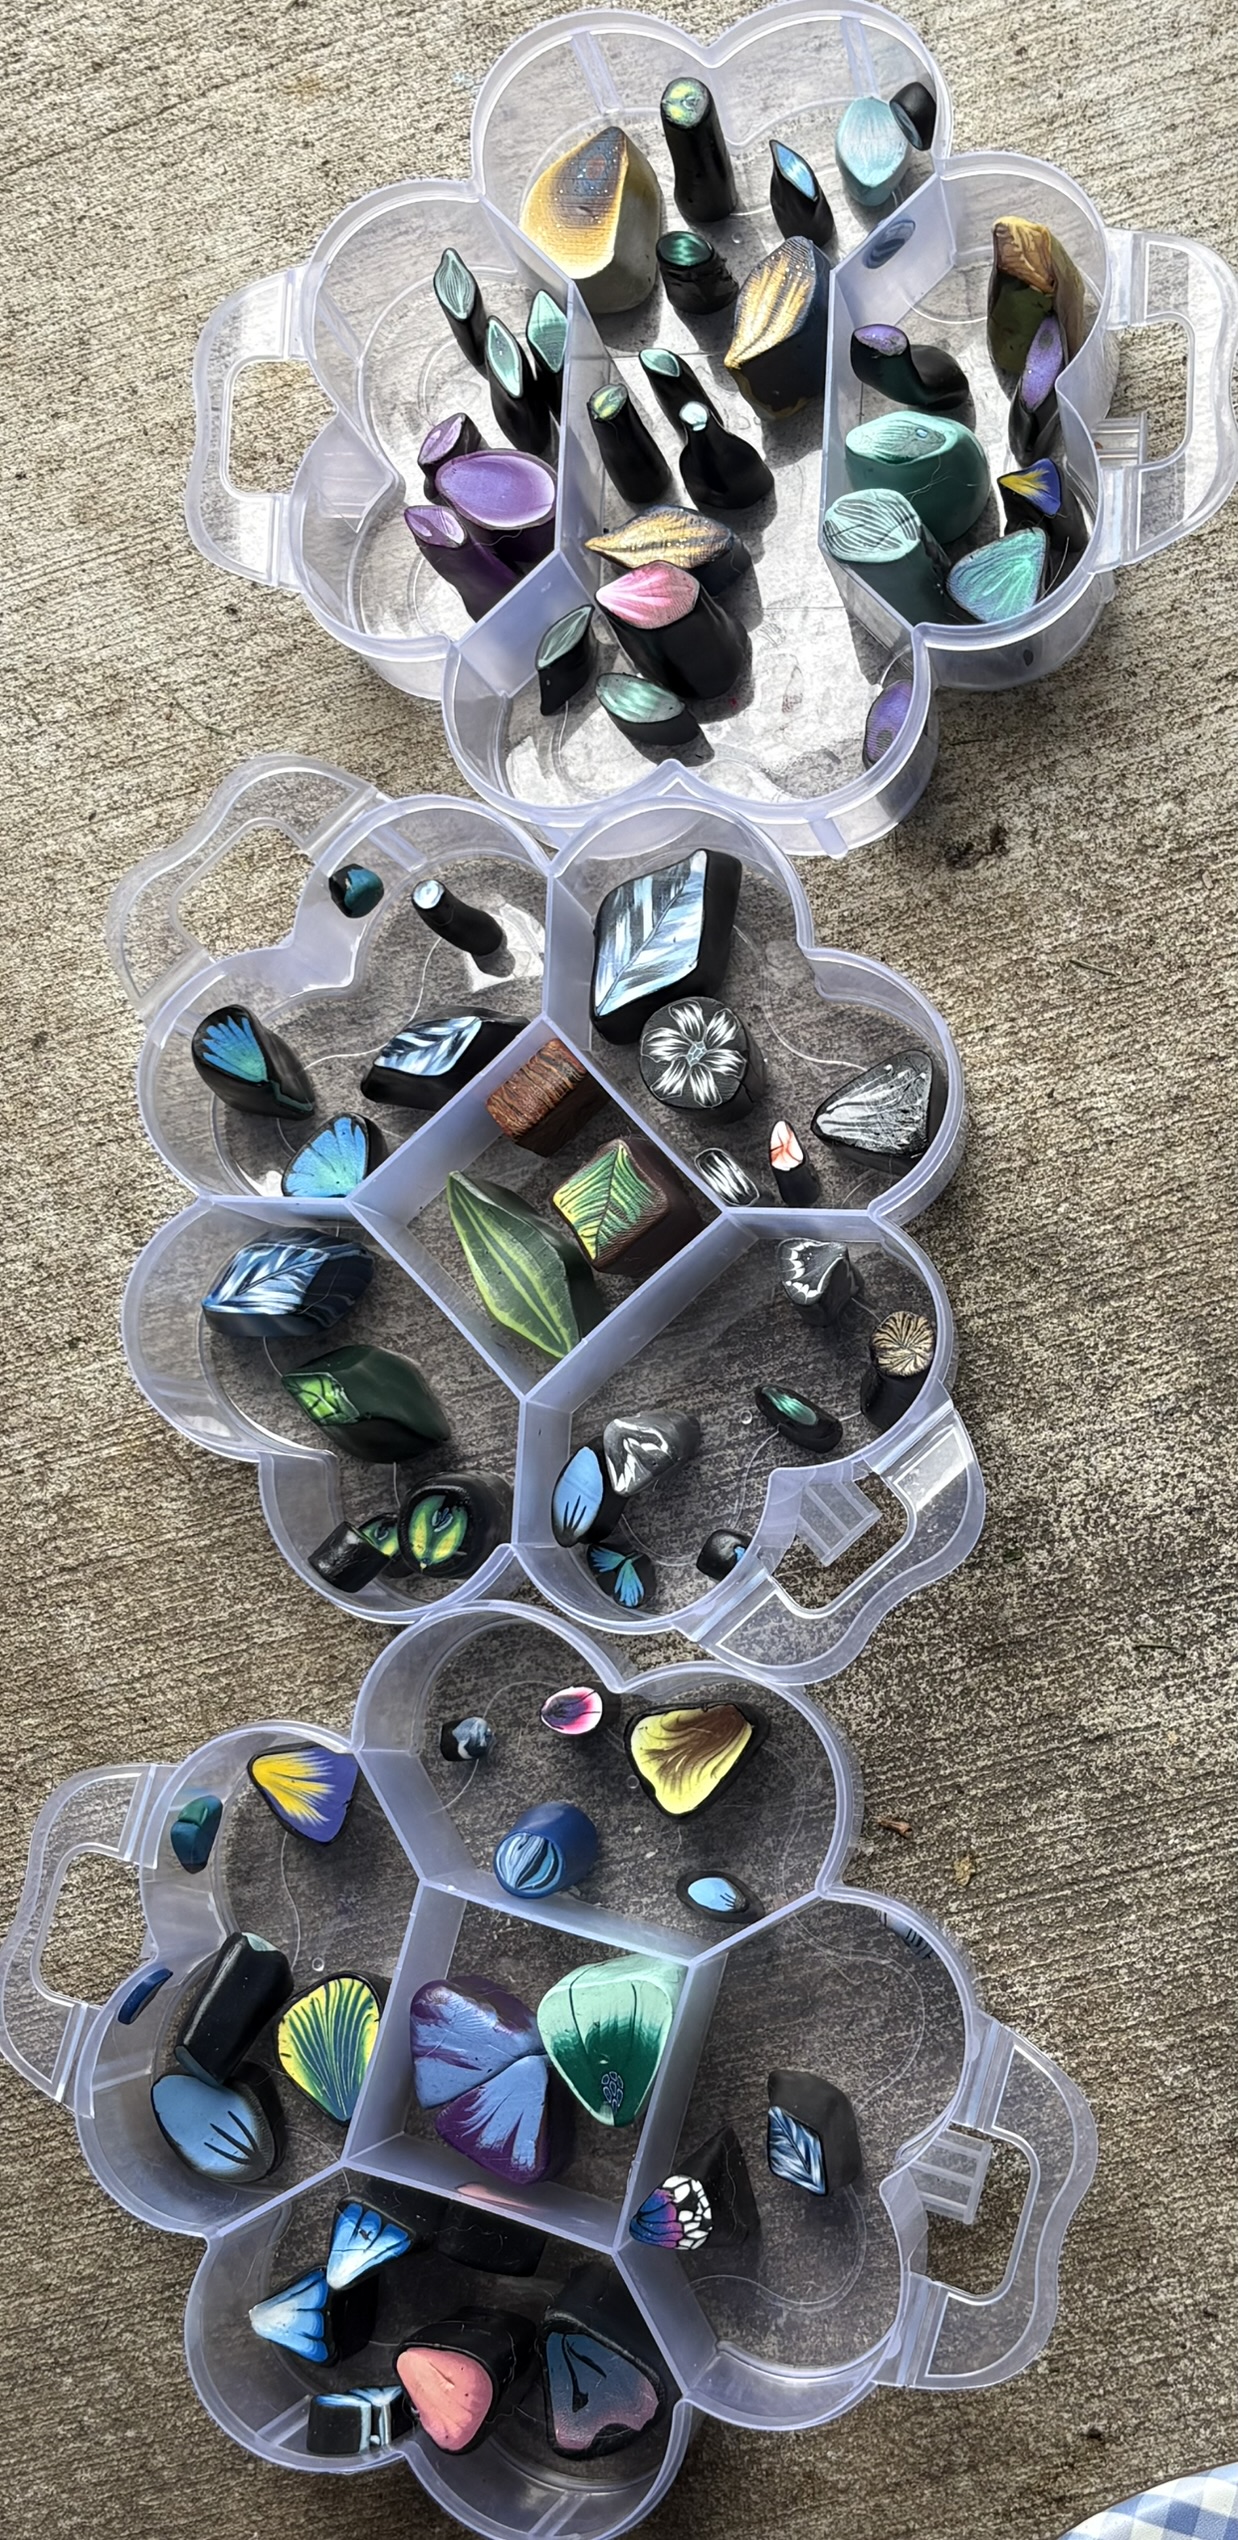
Wing and eye slices

Inspiration · marker 3

Vein and barb

  • Same drawing on a feather and a monarch wing.
  • Cells split by thin black veins, then a leading edge.
  • Veins thinner than the cells. Readable lines beat a muddy plug.

Field Marks · card 5 of 20

Lime-yellow eye on the disc ring

Inspiration · marker 4

The eye

  • Yellow core, lime ring, black wrap.
  • Pinch it oval. Field marks are not perfect circles.
  • This is the disc on the middle finger. Stop reducing while it still glows.

Field Marks · card 6 of 20

Monarch on the cluster ring

Inspiration · marker 5

White ticks

  • Tiny white snakes along the outer black edge.
  • That is the monarch border — the mark that reads from across the table.
  • Rice-grain snakes. Do not flood white.

Field Marks · card 7 of 20

Overlay earrings and dangles

Inspiration · marker 6

Overlay, not one plug

  • Thin slices stacked like scales, points out.
  • One graphic disc + one cluster is the sister pair.
  • A thick plug is not the jewelry. Slice, then stack.

Field Marks · card 8 of 20

Black ground loaf

01 Barbs · step 1 · 0:15

Sheet the field

  • Condition. Sheet Premo Black at a mid pasta setting.
  • This is the paper. Do not skip it. Do not grey it down.
  • Name your track now: A monarch cells, or B eye-spot. One, not both.

Field Marks · card 9 of 20

Two-color blend blocks

01 Barbs · step 2 · 0:30

Skinner, two colors

  • Track A: orange into rust (orange + a pea of black).
  • Track B: skip this card — go to the eye wrap.
  • Fold so the blend stripes run the long way. Not a rainbow.

Field Marks · card 10 of 20

Cell and wing slices

01 Barbs · step 3 · Track A

Monarch cells

  • Cut the blend into 6–8 strips the long way.
  • Black snakes between strips — thinner than the cells.
  • Compress to a loaf. Leading edge: thin black, then white ticks.

Field Marks · card 11 of 20

Eye-spot disc

01 Barbs · step 3 · Track B

Eye-spot wrap

  • Yellow snake, about 8 mm. No pearl in this core.
  • Thin lime sheet, wrap once. Seam scrape. Then thin black wrap.
  • Pinch into a soft oval. Field marks are oval.

Field Marks · card 12 of 20

Packed canes

01 Barbs · step 4 · 1:40

Wrap, then light reduce

  • Black wrap. Light reduction only.
  • Eye: stop at about 12–15 mm while the yellow still glows.
  • If it splits: cut a window, restack. Do not panic-reduce.

Field Marks · card 13 of 20

Thin slices in trays

01 Barbs · step 5 · 2:10

Slice thin

  • About a credit-card or thinner. Keep four good faces.
  • Track A: straight for cells, slight bias for wing shards.
  • Lay two slices overlapping on scrap black — that is 02, previewed.

Field Marks · card 14 of 20

Finished pieces after bake

Every class · bake

275°F / 135°C

  • Tile or parchment. Not a food oven. Vent the room.
  • Thin slices 15–20 minutes. Thicker clusters longer — bake for what you built.
  • Cool on the tile. Findings wait until it is fully cool.

Field Marks · card 15 of 20

Both tracks in the trays

02 Plumage · step 1

Make the other track

  • If you made monarch in 01, make the eye. If you made the eye, make monarch.
  • Keep it small. No third bird. Teal is a hairline in the wrap, not a new cane.
  • A dead 01 cane: window and restack, or veneer. You still overlay today.

Field Marks · card 16 of 20

Cluster of overlay slices

02 Plumage · step 2

Overlay cluster

  • Black disc, slightly domed. 5–9 thin slices. Mix eyes and cells.
  • Points outward like scales. Press from the center. Do not roll it flat.
  • Black must still show. More than nine slices is a lump. Pull two off.

Field Marks · card 17 of 20

Slice boards

02 Plumage · step 3

Slice board

  • Eyes and cells on the same tile. That is the class picture.
  • Duds become veneer, not jewelry.
  • Photograph the board in daylight if you can. Then bake the keepers.

Field Marks · card 18 of 20

Sister pair: disc and cluster

03 On the Wing · step 1

Sister pair

  • Sister A: one clean eye-spot face on black. Quiet disc.
  • Sister B: the overlay cluster. Optional tiny monarch perched, not buried.
  • One readable wearable beats two muddy ones. Not a 14-piece bird.

Field Marks · card 19 of 20

Stud and drop, windows, pins

03 On the Wing · step 2

Architecture & finish

  • Pick one: sister rings, stud + drop, window dangle, or pin/cab.
  • Bake for the thickness you built. Cool on the tile.
  • Findings last, and only if it is fully cool. Otherwise take the bake card home.

Field Marks · card 20 of 20